Auth
Overview
There are two parts to every Auth system:
- Authentication: should this person be allowed in? If yes, who are they?
- Authorization: once they are in, what are they allowed to do?
Supabase Auth is designed to work either as a standalone product, or deeply integrated with the other Supabase products. Postgres is at the heart of everything we do, and the Auth system follows this principle. We leverage Postgres' built-in Auth functionality wherever possible.
Authentication
You can authenticate your users in several ways:
- Email & password.
- Magic links (one-click logins).
- Social providers.
- Phone logins.
Providers
We provide a suite of Providers and login methods.
Simple interface
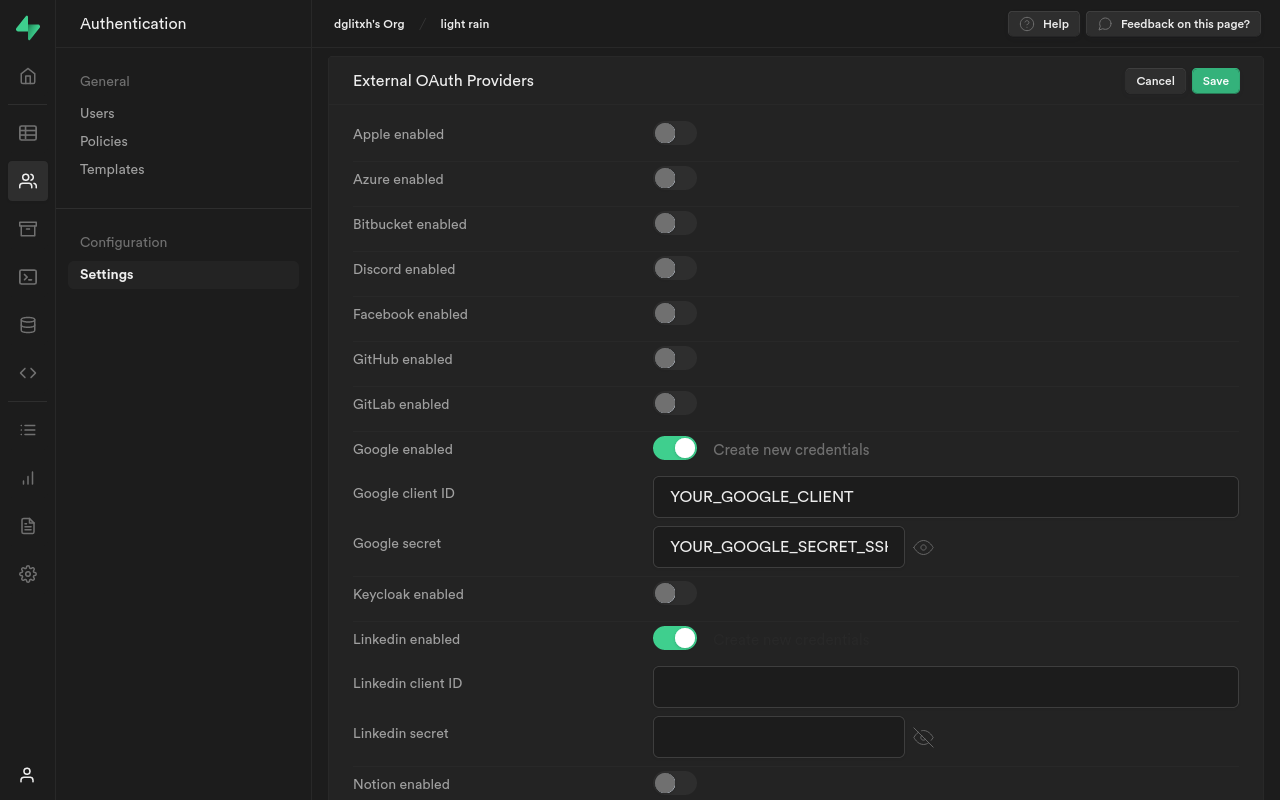
You can enable third-providers with the click of a button by navigating to Authentication > Settings > External OAuth Providers and inputting your Client ID and Secret for each.
Authorization
When you need granular authorization rules, nothing beats PostgreSQL's Row Level Security (RLS).
Policies are PostgreSQL's rule engine. They are incredibly powerful and flexible, allowing you to write complex SQL rules which fit your unique business needs.
Get started with our Row Level Security Guides.
Row Level Security
Authentication only gets you so far. When you need granular authorization rules, nothing beats PostgreSQL's Row Level Security (RLS). Supabase makes it simple to turn RLS on and off.
Policies
Policies are PostgreSQL's rule engine. They are incredibly powerful and flexible, allowing you to write complex SQL rules which fit your unique business needs.
With policies, your database becomes the rules engine. Instead of repetitively filtering your queries, like this ...
const loggedInUserId = 'd0714948'
let { data, error } = await supabase
  .from('users')
  .select('user_id, name')
  .eq('user_id', loggedInUserId)

// console.log(data)
// => { id: 'd0714948', name: 'Jane' }
... you can simply define a rule on your database table, auth.uid() = user_id, and your request will return the rows which pass the rule, even when you remove the filter from your middleware:
let { data, error } = await supabase.from('users').select('user_id, name')

// console.log(data)
// Still => { id: 'd0714948', name: 'Jane' }
How It Works
- A user signs up. Supabase creates a new user in the
auth.userstable. - Supabase returns a new JWT, which contains the user's
UUID. - Every request to your database also sends the JWT.
- Postgres inspects the JWT to determine the user making the request.
- The user's UID can be used in policies to restrict access to rows.
Supabase provides a special function in Postgres, auth.uid(), which extracts the user's UID from the JWT. This is especially useful when creating policies.
User Management
Supabase makes it simple to manage your users.
When users sign up, Supabase assigns them a unique ID. You can reference this ID anywhere in your database. For example, you might create a profiles table referencing id in the auth.users table using a user_id field.
Supabase provides the routes to sign up, log in, log out, and manage users in your apps and websites.
Next Steps
- Sign in: app.supabase.com